Custom embroidered patches lifecycle begins with a clear concept and a brand story that guides every stitch from idea to market. At this stage, teams explore what the patch represents, where it will be worn, and how color and size choices reinforce the brand values for custom embroidered patches. This introduction to the lifecycle helps ensure the patch remains faithful to the brand while performing reliably in embroidery. As the project moves toward design and prototyping, attention to the manufacturing process ensures feasibility and cost control. By documenting goals early and aligning stakeholders, brands set the stage for patches that wear well, look consistent, and tell a compelling brand story across apparel patches.
From an LSI perspective, the embroidered patches lifecycle can be viewed as a branding program that moves from concept to market. Framed with related terms such as patch design, the manufacturing process, and apparel patches, the topic remains coherent for search engines and readers. This approach mirrors how branding with patches creates a durable, story-driven asset that can be scaled across collections. By outlining stages from concept through prototyping, materials selection, and quality checks, readers see practical steps to production. Ultimately, embracing this lifecycle helps brands align creative intent with execution, delivering consistent color, secure backing, and meaningful market presence.
Stage 1: Ideation and Concept in the Custom embroidered patches lifecycle
The lifecycle begins with a clear concept that translates into a portable brand touchpoint on apparel patches. Teams explore what the patch should symbolize—whether a logo, mascot, collaboration, or limited edition motif—and where it will be worn (jackets, hats, bags, or uniforms). This stage also defines practical constraints such as surface shape, size, and color resonance, ensuring the patch design serves the brand story while remaining legible when embroidered.
Early collaboration across product, design, and marketing helps tighten the brief, align stakeholders, and set budgets and timelines. By framing how the patch will support branding with patches and contribute to the overall apparel patches strategy, this ideation phase lays the groundwork for subsequent decisions in the patch design and the broader manufacturing process.
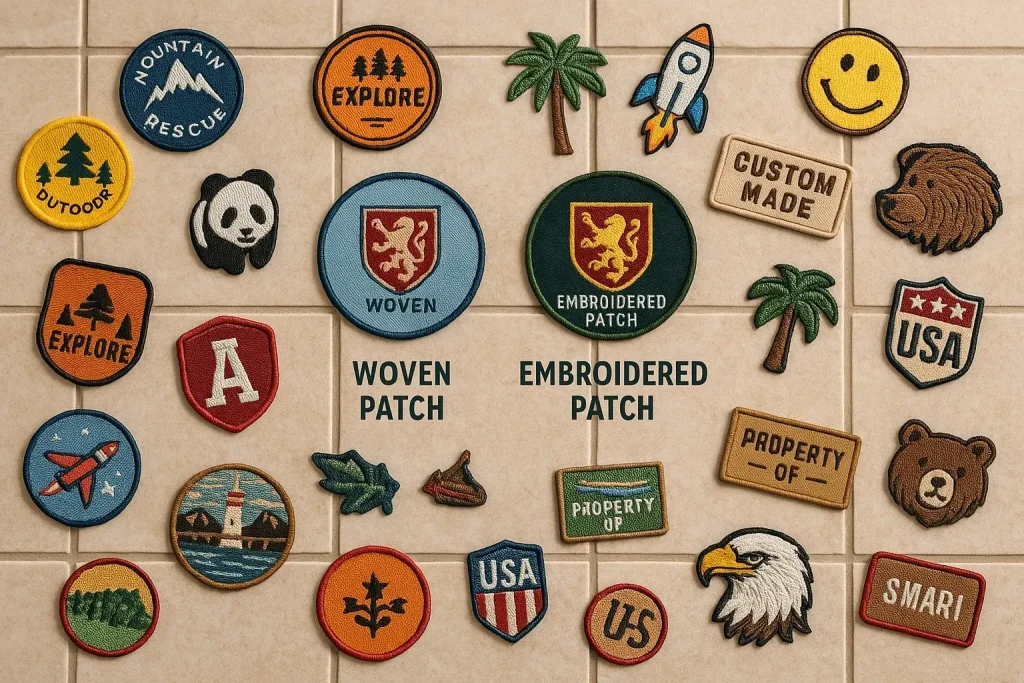
Custom embroidered patches lifecycle: Design, prototyping, and patch design strategy
Design and prototyping bring the concept to a tangible form. This phase covers patch design—translating vector artwork into embroidery-ready files, selecting thread colors, and deciding on patch shape and edging (merrow edge, satin stitch, or laser-cut edge). Digitizing converts artwork into stitch commands, shaping density and texture to balance durability with visual impact.
Prototyping creates sample patches to validate scale, legibility, color accuracy, and backing compatibility before mass production. The design and production teams collaborate to ensure the patch remains faithful to the brand while meeting practical embroidery constraints, setting the stage for a smooth manufacturing process.
Materials, patch types, and backings to optimize durability in apparel patches
Material choices and patch types determine how the final product performs in the real world. Consider traditional sew-on patches, iron-on, Velcro-backed, or heat-seal options, each with distinct installation methods and wear expectations. Backing options (hot melt, felt, denim, or twill) influence rigidity, washability, and durability, while edge finishing (merrow versus laser-cut) shapes resilience against fraying.
This stage also covers material families—fabrics such as twill or felt, thread types like polyester or rayon, and stabilizers that support embroidery during production and use. Increasingly, brands prioritize eco-friendly materials to support sustainable storytelling through apparel patches, appealing to conscious consumers and strengthening the patch’s role in branding with patches.
The Manufacturing Process: embroidery, cutting, backing, and quality checks
The manufacturing process is where the concept becomes a finished product. Digitizing and color matching translate the approved design into stitch types and color sequences, with standardized lighting used to ensure color consistency across batches. Embroidery on multi-head machines requires careful tuning of stitch density, pull compensation, and underlay to preserve detail and prevent distortion.
Follow-on steps include cutting and finishing (hot-cut laser or die-cut), backing application (adhesive for iron-on, pin back, or Velcro), and rigorous quality checks. Inspectors evaluate color consistency, stitch integrity, backing adhesion, and overall symmetry, flagging deviations for rework or rejection to ensure reliable batch-to-batch results.
Market Launch, Packaging, and Brand Impact for patches and apparel patches
Market launch and distribution bring patches to the world. Thoughtful packaging, SKU labeling, care instructions, and cohesive branding on packaging reinforce the brand story and help patches stand out in ecommerce listings or retail displays. Direct-to-consumer and wholesale channels require tailored packaging and labeling strategies that support efficient distribution.
Beyond sale, the patches program drives brand impact. Patches act as ambassadors for the brand, enabling storytelling across channels and enhancing customer engagement. Sustainable packaging, opportunities for co-branding, and feedback loops support continuous improvement in the patch lifecycle, ensuring consistent quality for apparel patches as demand scales and markets widen.
Frequently Asked Questions
What is the custom embroidered patches lifecycle, and why is it critical for patch design and production?
The custom embroidered patches lifecycle is the end-to-end process from idea to market for patches. It spans ideation, design and prototyping, materials and patch types, the manufacturing process, quality control, packaging, and market launch. Understanding this lifecycle helps ensure cohesive patch design, efficient manufacturing, durable finishes, and effective branding with patches across apparel patches and related items.
How does the ideation and concept phase shape patch design within the custom embroidered patches lifecycle?
In the ideation phase of the custom embroidered patches lifecycle, the brand story, intended wear surfaces, target audience, color, and size constraints are defined. This guides patch design decisions, ensuring the design remains faithful to the brand while embroidery considerations are accounted for and the brief stays actionable.
Why are materials, patch types, and backings important in the manufacturing process stage of the custom embroidered patches lifecycle?
Materials, patch types, and backings determine durability, washability, and how the patch is applied (sew-on, iron-on, Velcro). These choices influence edge finishing, backing adhesion, and overall performance, making them central to the manufacturing process and the patch’s real-world wear.
How can branding with patches be optimized during packaging, distribution, and market launch in the custom embroidered patches lifecycle?
Branding with patches should be reflected in packaging, labeling, care instructions, and any co-branding opportunities. A cohesive packaging and launch strategy strengthens brand identity, supports retail presentation, and drives adoption across apparel patches and related products.
What quality control and sustainability checks are essential in the custom embroidered patches lifecycle to ensure high-quality apparel patches?
Essential QC checks include colorfastness, edge stability, backing adhesion, and safety/compliance evaluations to ensure consistent color and durability. Sustainability considerations—materials, inks, and packaging—are increasingly important to meet standards and appeal to eco-conscious customers.
| Stage | Focus / Activities | Key Takeaways |
|---|---|---|
| Stage 1: Ideation and Concept |
|
|
| Stage 2: Design and Prototyping |
|
|
| Stage 3: Materials, Patch Types, and Backings |
|
|
| Stage 4: The Manufacturing Process |
|
|
| Stage 5: Quality Control, Compliance, and Durability |
|
|
| Stage 6: Packaging, Branding, and Distribution |
|
|
| Stage 7: Market Launch and Brand Impact |
|
|
| Stage 8: Scaling, Sustainability, and Continuous Improvement |
|
|
| Case Study: Practical Takeaways |
|
|
Summary
Custom embroidered patches lifecycle is a comprehensive journey from concept to market, weaving design decisions, material choices, manufacturing precision, and brand storytelling into a durable asset for wearers and fans. The lifecycle begins with ideation, where a patch communicates the brand and sets the direction for design and feasibility. Through careful design, material selection, and backing choices, patches achieve durability and washability. The manufacturing process, quality control, and compliance ensure consistency across batches while safeguarding safety and sustainability. Packaging, distribution, and strategic market launches transform patches from product components into ambassadors for a brand, driving engagement and loyalty. As brands scale, continuous improvement and sustainable practices help maintain quality, optimize costs, and expand reach across apparel, accessories, and promotional items.