
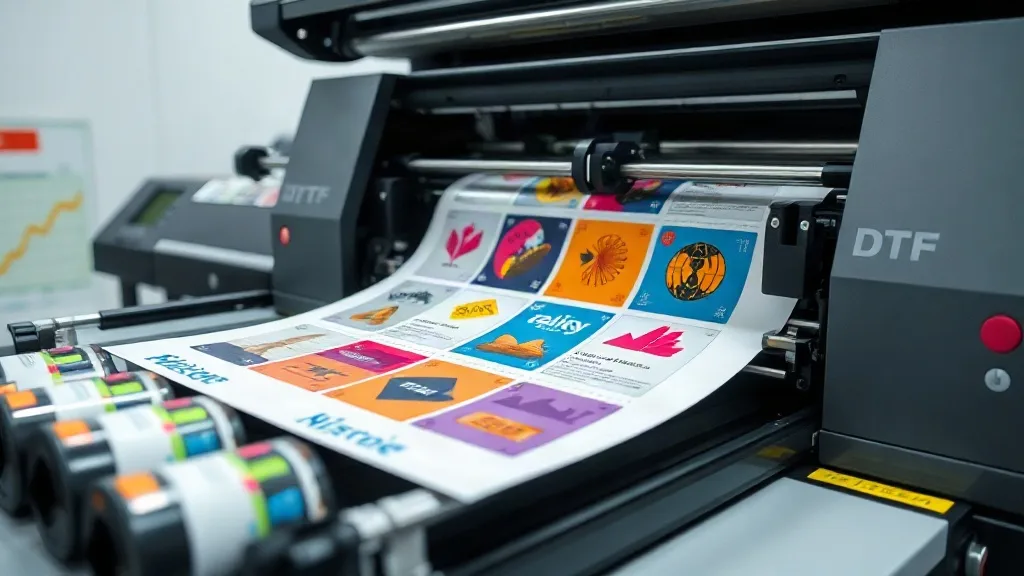
Every DTF printer knows the sting of a wasted sheet. You've spent time building a layout, only to find a misprint or a jam that turns your profits into scrap. But what if you could systematically reduce those losses and still deliver the crisp, vibrant transfers your customers expect? The key lies in understanding where your money goes on every DTF Gangsheet and making smarter choices at each step. This isn't about cutting corners; it's about cutting waste.
Where Your Money Goes on a DTF Gangsheet
Before you can save, you need to know what you're spending. A typical gangsheet involves several cost centers: film, ink, powder, and labor. Each plays a role in your final price per transfer, but some are easier to control than others.
Film: The Biggest Variable
Film is often the largest material cost. Many printers default to a standard thickness, but that might not be optimal for every job. Thinner films can reduce cost per sheet, but you need to ensure they don't cause jams or affect transfer quality. Testing different film types can reveal savings without sacrificing output.
Ink and Powder: The Hidden Expenses
Ink coverage varies wildly depending on design. A full-color photo uses far more ink than a simple logo. Similarly, powder application can be wasteful if not controlled. Over-powdering not only wastes material but can also lead to texture issues. Calibrating your equipment and using profiles that match your designs can trim these costs.
Optimizing Layout to Reduce Waste
The way you arrange designs on a sheet directly impacts how much film and ink you use. Smart nesting isn't just about fitting more; it's about using every inch efficiently.
Nesting Strategies That Work
Start by grouping similar-sized designs and rotating them to fill gaps. Avoid large empty spaces by placing smaller items in between. Many RIP software offer auto-nesting features, but manual tweaks often yield better results. Remember that the goal is to minimize unprinted areas, as those still consume film and powder.
Avoiding Common Nesting Mistakes
One frequent error is leaving too much space between designs. While you need some gap for cutting, excessive spacing wastes film. Another mistake is not accounting for the powder application area; designs too close to the edge may not get adequate powder coverage, leading to failures. Always preview your layout before printing.
Choosing the Right Supplies for Cost and Quality
Not all supplies are created equal. Selecting the right film, ink, and powder can significantly affect both your bottom line and the final product.
Film Selection
Consider the adhesive and release characteristics. Some films allow for lower temperature transfers, saving energy. Others may be more forgiving with powder adhesion. Buying in bulk can reduce per-unit cost, but only if you'll use it before it expires. Test samples to find a film that balances cost and performance.
Ink and Powder Efficiency
Using high-quality ink might seem more expensive upfront, but it often provides better color saturation, requiring less ink overall. Similarly, fine-grade powder adheres more evenly, reducing waste. Work with your supplier to find the sweet spot between price and yield.
Workflow Tweaks That Save Money
Small changes in your daily routine can add up to significant savings over time.
Batch Similar Jobs
Printing similar designs together allows you to use consistent settings and reduces setup time. It also makes nesting more efficient, as you can replicate patterns.
Regular Maintenance
A well-maintained printer runs more efficiently. Clogged nozzles waste ink and cause misprints. Scheduled cleanings and calibrations prevent these issues and extend equipment life.
Quality Control: The Final Safeguard
Even with careful planning, errors can slip through. Implementing a quick quality check before transferring can catch issues early, saving you from reprinting entire sheets.
Pre-Transfer Inspection
Check for missing powder, smudges, or incomplete cuts. A simple light table can help spot defects. Catching these before heat pressing avoids wasted garments and time.
Post-Transfer Evaluation
After pressing, inspect the transfer for durability and appearance. If you notice issues, adjust your process accordingly. Keeping a log of problems helps identify patterns and prevent recurrence.
Frequently Asked Questions
How can I reduce film waste on my DTF gangsheet?
Optimize your nesting by rotating designs and filling gaps with smaller items. Use software tools to auto-nest, but manually adjust for tightest fit. Also, consider using film rolls that match your common sheet sizes to minimize trim waste.
What is the most cost-effective ink for DTF printing?
Cost-effectiveness depends on yield, not just price per liter. High-quality inks with strong pigment concentration often require less ink to achieve vibrant colors, reducing overall usage. Test different brands to find one that balances cost and performance for your typical designs.
Can I reuse DTF film?
No, DTF film is designed for single use. Reusing it compromises adhesion and transfer quality, leading to failures that cost more in the long run. Always use fresh film for each print.
How does powder application affect my costs?
Over-application wastes powder and can cause texture issues. Under-application leads to poor adhesion. Calibrate your powder shaker to apply an even, thin layer. Using a fine-grade powder helps achieve consistent coverage with less material.
What maintenance tasks save the most money?
Regular printhead cleaning prevents clogs that waste ink and cause misprints. Daily checks of the powder station ensure even application. Keeping the printer clean overall reduces downtime and extends equipment life, saving on repairs and replacements.