
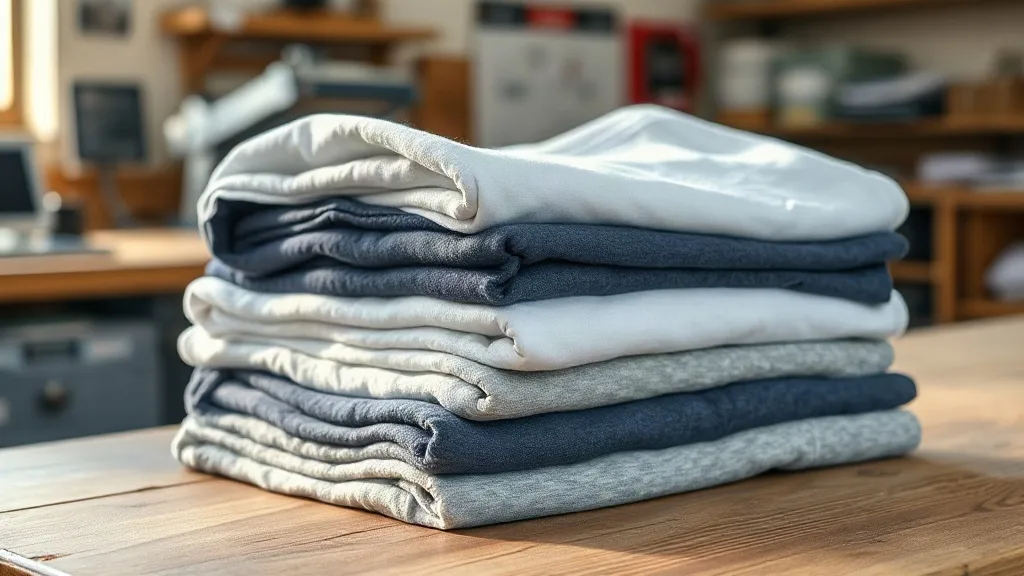
Most DTF problems that get blamed on the printer actually start with the shirt. A press can be dialed in perfectly, powder shaken evenly, and the transfer still cracks at the shoulder seam or looks washed out over a dark navy tee. After running enough jobs, the pattern becomes obvious: heavy, tightly woven blanks forgive small mistakes, while thin, loose knits punish them. That is where shaka wear earns a lot of quiet loyalty among people who print for a living. The blanks are built with enough body to hold a transfer flat, and the consistent construction means the same settings work across a whole run instead of needing constant adjustment.
This guide is for the person standing at the heat press at 11 p.m. with a stack of orders and a gangsheet waiting to be cut. It covers what to look for in a blank, how to test one before committing to a bulk order, and how to lay out transfers so you waste less film and time on every batch.
Why the Blank Matters More Than the Transfer
A DTF transfer is a thin layer of pigment ink bonded to a thermoplastic powder adhesive. When it cures, that adhesive grabs onto the fibers of the garment. If the fibers are loose, fuzzy, or coated with a finish that resists heat, the adhesive has nothing solid to hold. The print looks fine coming off the press and starts failing two washes later.
Three properties decide whether a blank will cooperate:
- Fabric weight. Heavier cotton holds its shape under heat and pressure. A 5.3 oz tee is workable, but 6 oz and up gives the adhesive a more stable surface and resists the puckering that shows up around large chest prints.
- Knit density. You can feel this with your thumb. Press into the fabric; if you can see daylight through the weave easily, the surface is too open for fine detail.
- Finish. Silicon washes, stain-release coatings, and heavy enzyme treatments can leave a residue that blocks adhesion. Unfinished ring-spun cotton is the safest bet.
Shaka Wear blanks tend to sit in the sweet spot here. The ring-spun cotton is dense without being stiff, and the surface is clean enough that a standard 320°F press for 15 seconds with medium pressure produces a bond that survives real wear. If you have ever peeled a transfer off a cheap promotional tee after three washes, you know how much that consistency is worth.
Reading a Shaka Wear Blank Before You Buy
Check the weight and the hand feel together
Weight alone does not tell the whole story. Two 6 oz tees can feel completely different depending on how the yarn is spun. Hold the shirt up to a light and look at the fabric between your fingers. A tight, even knit with no visible gaps is what you want. Then rub the surface with your thumb. If it feels slick or has a slight chemical smoothness, wash a sample before printing on it.
Look at the seams where the print will sit
Most DTF failures I have seen happen near a seam, not in the middle of the chest. Double-needle stitching that sits flat is fine. Bulky, raised seams create a ridge that the transfer cannot conform to, and that ridge becomes the first place to lift. On a Shaka Wear tee, run your finger along the shoulder and side seams. If they feel smooth and low, the press will handle them without a problem.
Test the color before you commit
White and light heathers are the easiest surfaces for DTF. Dark solids need a white ink base layer thick enough to stay opaque without turning the print plasticky. Before ordering a case of black tees, print one transfer on a single blank and check the opacity under daylight, not just under your shop lights. Shop lighting hides a lot of thin coverage.
Building Gangsheets That Actually Save Money
Once the blanks are sorted, the next place to cut cost is film. Every inch of unused space on a sheet is money spent on transfer film, powder, and press time. A DTF Gangsheet Builder lets you arrange multiple designs on a single sheet before it goes to print, which is the difference between a profitable small order and one that barely breaks even.
A few habits that make a real difference:
- Group by garment color. White-ink-heavy designs belong together so you can run one consistent white layer setting across the sheet.
- Nest irregular shapes. Left chest logos and sleeve prints leave odd gaps. Rotate and tuck them into each other rather than lining them up in rows.
- Leave a consistent gutter. A 3 to 5 mm gap between designs makes cutting faster and prevents the blade from nicking a neighbor.
- Keep a bleed margin. Nothing wastes more film than a design that gets trimmed too close and has to be reprinted.
When you build a gangsheet around a known order, you also get a natural quality check. Laying out ten identical transfers side by side makes it obvious if one design has a stray pixel or an off-center element before anything reaches the press.
Press Settings That Work With These Blanks
Exact numbers vary by press and film brand, so treat these as a starting point and adjust from there:
- Pre-press the shirt for 5 to 7 seconds to pull out moisture. Skip this and the adhesive will fight steam instead of bonding.
- Press at 300 to 320°F with medium pressure for 12 to 15 seconds.
- Peel warm for a matte finish, cold for a slightly glossier look. Warm peel tends to sit flatter on ring-spun cotton.
- Post-press with a cover sheet for 5 seconds to lock the edges.
On heavier Shaka Wear blanks, add a couple of seconds to the press time rather than raising the temperature. More heat risks scorching the cotton and yellowing light colors; more time at a safe temperature gets the adhesive fully into the fibers without damage.
Wash Testing Without Wasting a Shirt
You do not need a lab to know whether a transfer will hold. Print a small test design on the inside hem of a blank, where it will not be seen. Wash the shirt normally three times, then check the edges. If the transfer is lifting at the corners, the adhesive did not penetrate. If it is cracking across the middle, the ink layer was too thin or the press pressure was uneven. This one test catches most problems before a customer does.
Keep a log of the fabric, film brand, temperature, and time for each test. After a few months, you will have your own reference chart that beats any generic settings guide, because it reflects your press and your climate.
Frequently Asked Questions
Can you DTF print on 100% polyester Shaka Wear shirts?
Yes, but lower the press temperature to around 280 to 300°F. Polyester can shrink or glaze under high heat, and the dye in dark poly can migrate into a white ink base layer over time. Use a low-bleed film and a slightly shorter press if you notice any color shifting.
How many washes should a DTF transfer survive on a cotton tee?
With correct settings and a clean cotton surface, a transfer should hold through 50 or more home wash cycles. Anything under 20 usually points to a press issue, a coated fabric, or a shirt that was not pre-pressed to remove moisture.
Do I need a special gangsheet size for small orders?
No. Build the sheet around the order instead of forcing the order onto a fixed size. A sheet that fits your actual job list uses less film and cuts down on leftover scraps that never get used.
What is the best way to store printed transfers before pressing?
Keep them flat, in a cool, dry place, away from direct sunlight. Stacking transfers face to face can cause the powder to transfer onto the wrong side. A simple manila folder per order keeps everything organized and prevents curling at the edges.
Why does the print look dull after a few days?
Usually it is undercuring. If the powder did not fully melt, the surface stays matte and slightly rough, and it will wash out faster. Extend press time by two or three seconds and post-press with a cover sheet to smooth the finish.